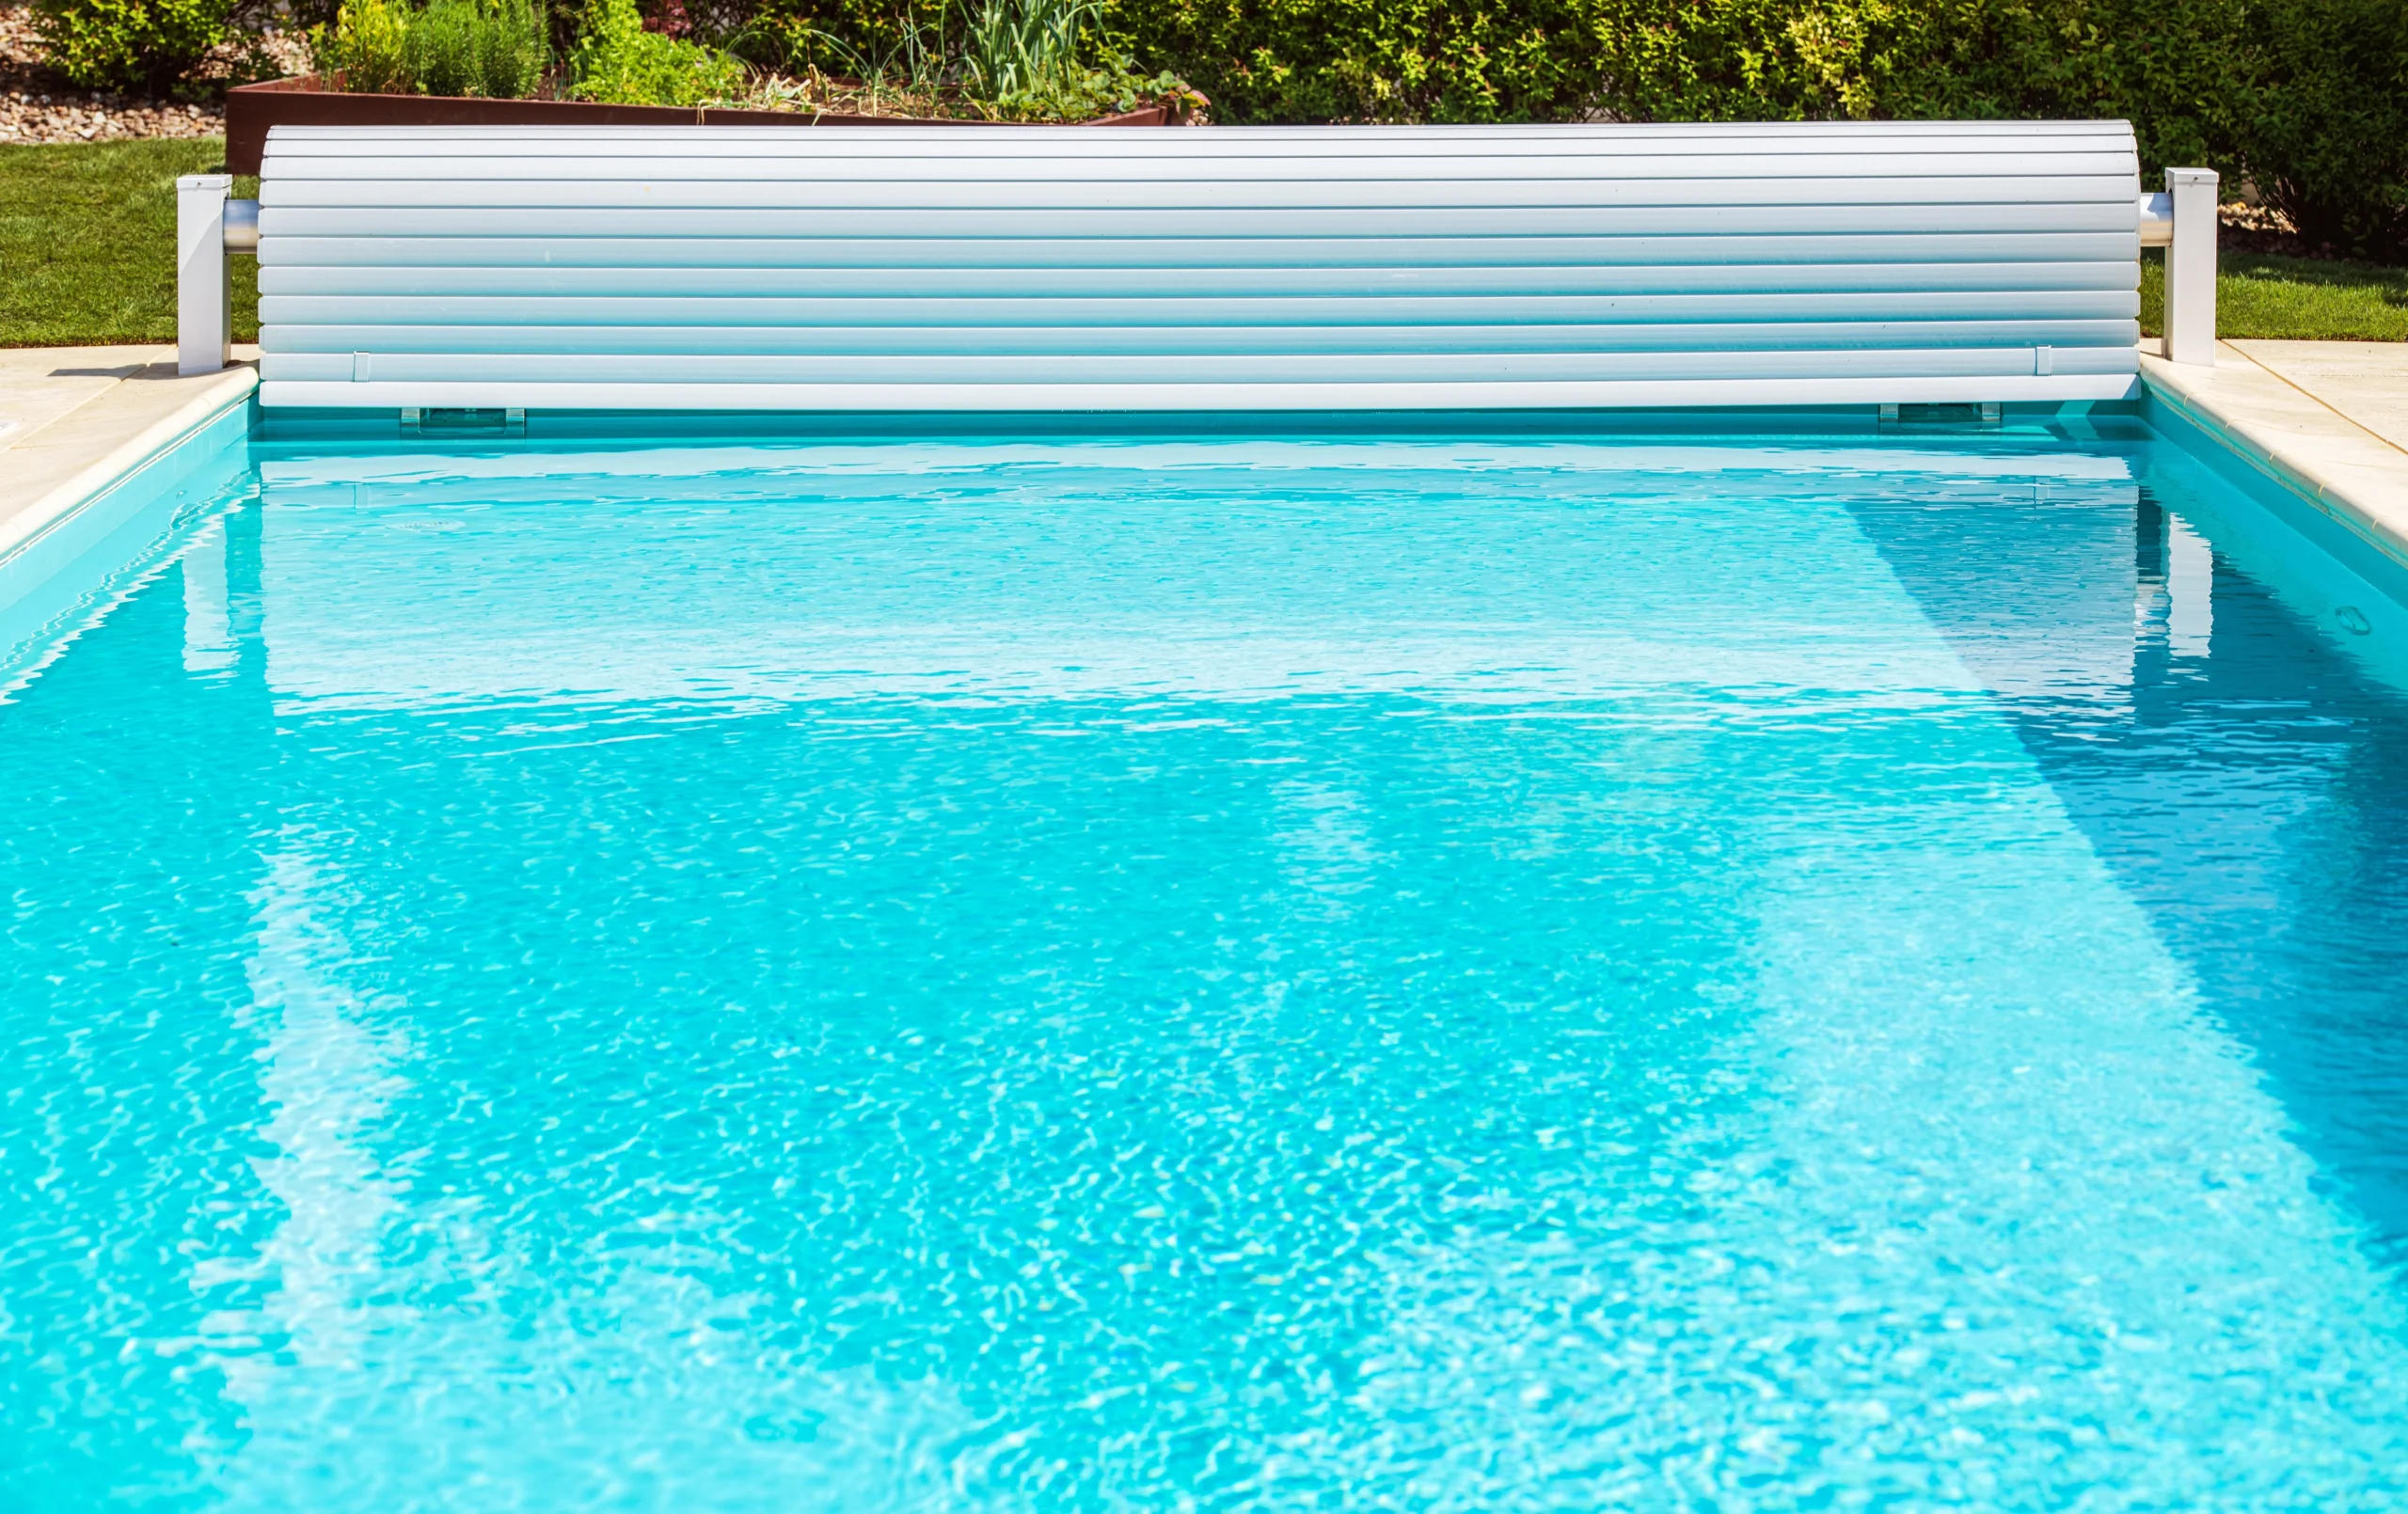
Opening your pool for the season requires precise timing and the right steps. If you’ve ever wondered how to do it efficiently, you’re in the right place. This guide covers when to open your pool, essential tools, and detailed steps to ensure your “opening pool” is clean, safe, and ready for use.
Key Takeaways
- Open your pool when temperatures consistently hit above 70°F to minimize algae growth and support water chemistry balance.
- Prepare essential tools like wrenches, Teflon tape, a wet-dry vacuum, and fresh reagents for effective pool maintenance.
- Clean and store the pool cover properly, inspect and reconnect all pool equipment, test and balance water chemistry, and perform final safety checks before the first swim.
Initiating the transition to a pool that’s both safe and welcoming begins by adopting an efficient pool opening strategy. For pool owners, this means taking on responsibilities such as choosing the perfect moment to open the pool, maintaining water conditions, and using the necessary tools and protective gear. Open it too soon and you’re looking at unnecessary upkeep. Wait too long, and algae might turn your water into an uninviting green abyss. Nail the timing though, and you’ll be lauded as summer’s savior with a shimmering oasis that functions effortlessly all season long while also keeping your budget intact.
This is about more than just frugality—it’s equally about preserving both your health and the structural well-being of your swimming haven. Properly initiating pool operations safeguards against potential damage that could become expensive fixes down the line, not to mention avoiding safety risks. Besides, there’s something undeniably joyful about how a pristine pool enhances the charm of any outdoor space. With this in mind, let us embark on outlining steps designed to maximize efficiency during your upcoming pool unveiling process.
When to Open Your Pool
When should you open your pool? Ideally, when the thermometer consistently shows temperatures above 70°F. This timing is strategic because it hinders algae from thriving in your pool, as these organisms flourish in warmth. By opening your ground pool before it gets too warm, you significantly reduce their chances of proliferating. Getting an early start on the season helps maintain a harmonious balance within your pool water chemistry for spontaneous dips.
It’s not solely about thwarting algae growth though. Commencing the season with an appropriately timed opening of your above-ground pool also lays the groundwork for protecting its structure and ensures a hazard-free environment for everyone to enjoy all summer long. It’s essentially setting up the central feature of your backyard oasis to deliver both safety and aesthetic pleasure throughout the sunny days ahead—if those temperatures begin inching upward, consider that nature’s signal to kick off another delightful pool season!
Essential Tools and Equipment for Pool Opening
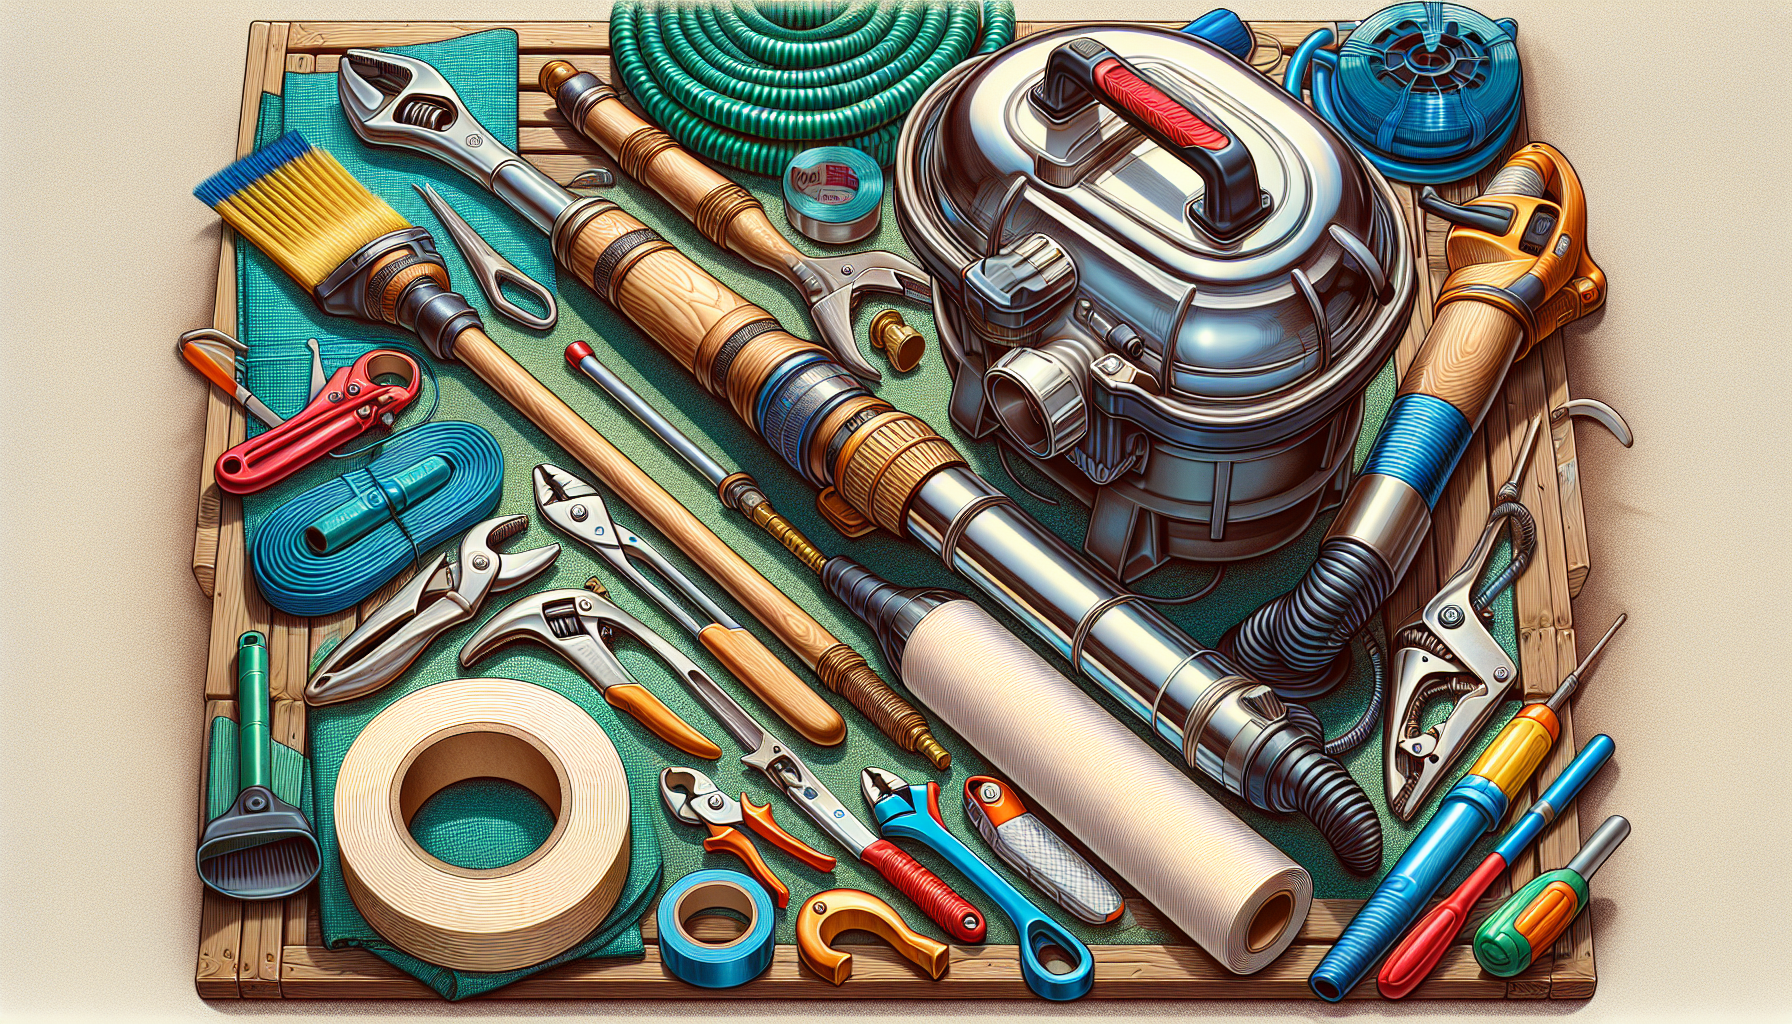
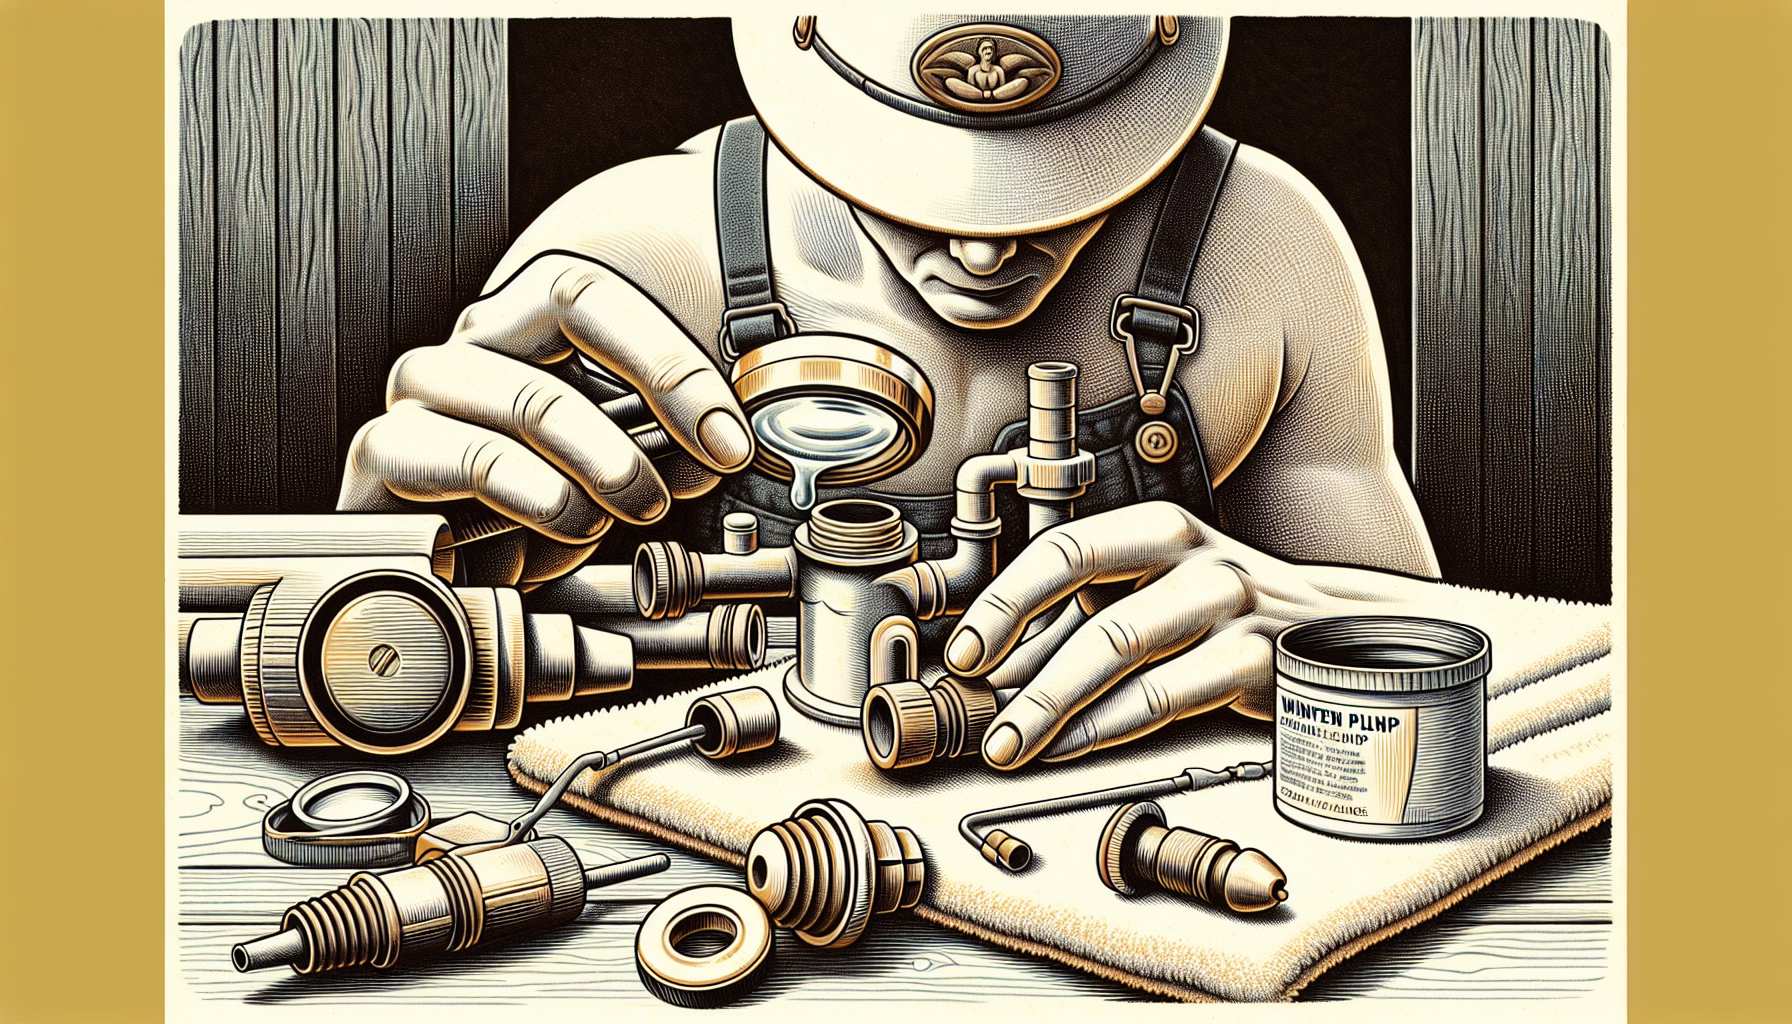
To dive into the essential task of opening your pool, you’ll require a set of specific tools. Inspecting and cleaning the pool filter is crucial to ensure proper water circulation and cleanliness. Your basic kit should include hand tools like wrenches and screwdrivers to secure bolts and screws tightly, along with Teflon tape for creating leak-proof seals on threaded plugs.
Your trusty wet-dry vacuum is vital in removing leaves, debris, and unwanted critters from your pool equipment that have accumulated during the winter months. Having a garden hose at hand is critical for replenishing the water level in your pool. Don’t overlook the importance of a pool cover pump either. It’s indispensable for eliminating any standing water on top of your pool cover. Lastly, ensure you’re equipped with fresh testing reagents so you can assess the condition of your pool water accurately — all these instruments are key components toward achieving an efficient opening day for your
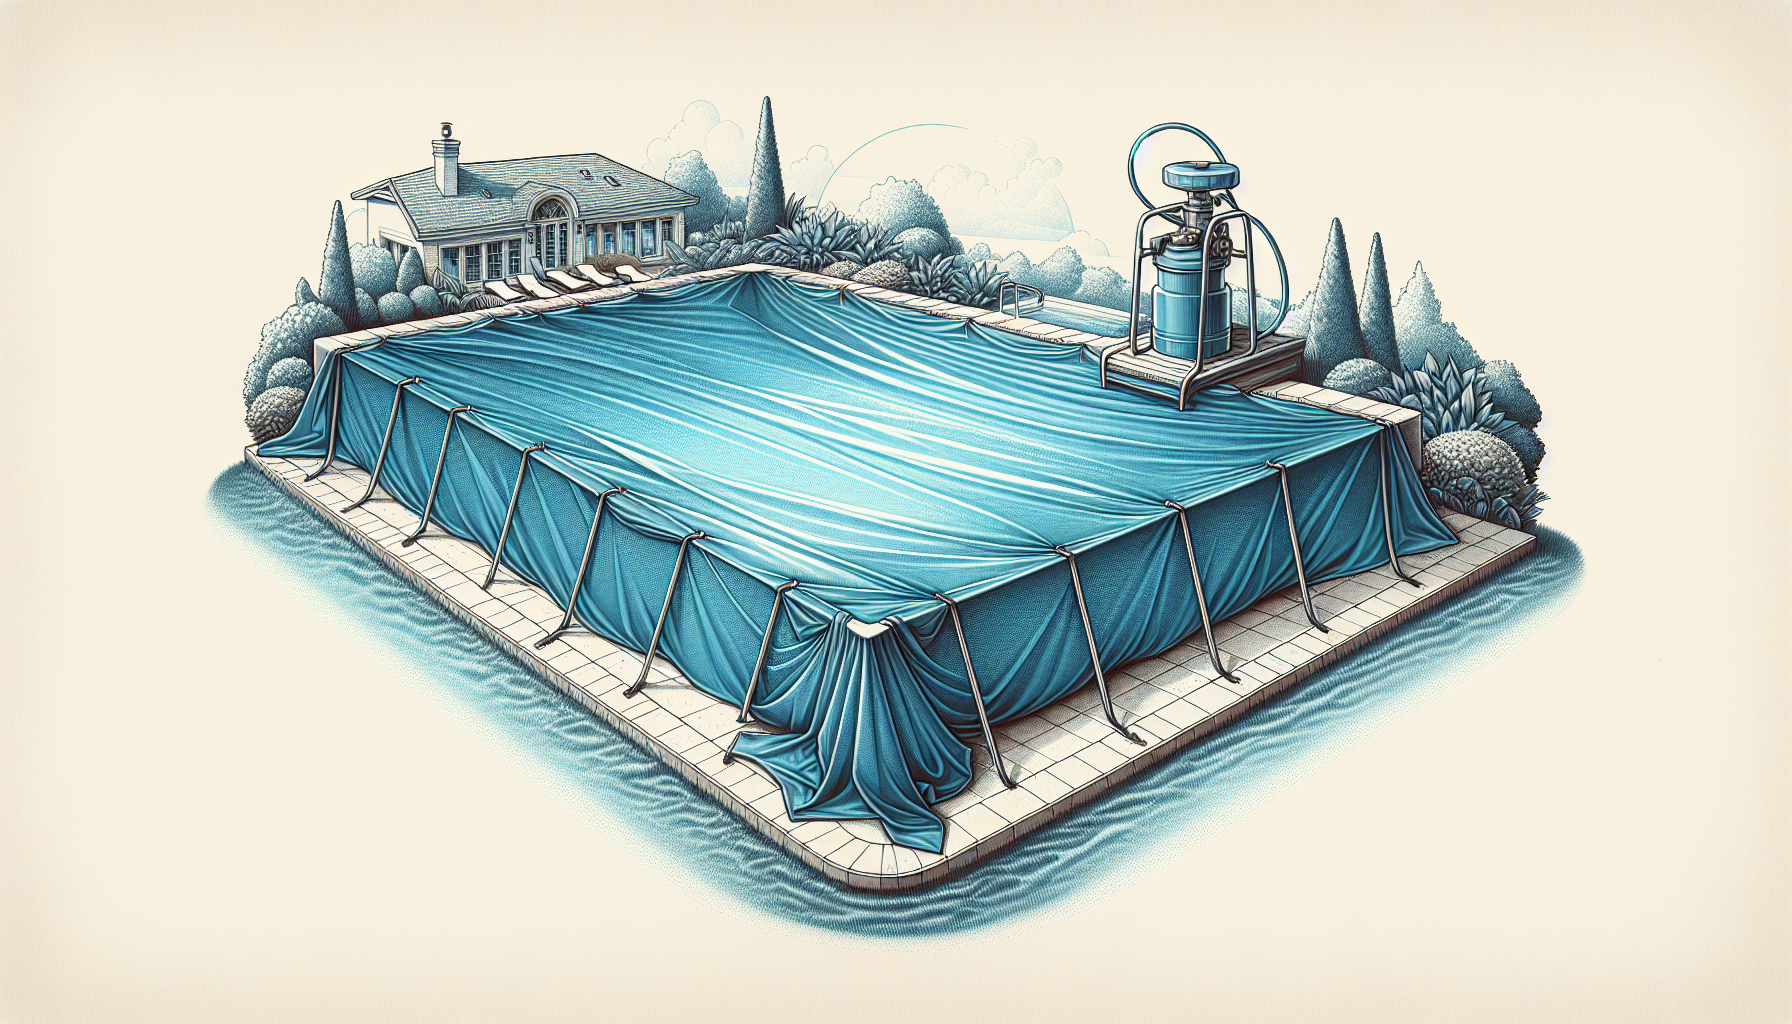
Cleaning and Removing the Pool Cover
 Let’s discuss the role of your pool cover, often considered the stalwart protector of your pool throughout the cooler seasons. It’s essential for you as a pool owner to undertake its cleaning and removal with diligence so as not to introduce any unpleasant elements into your pool water.
To begin with, it is critical to eliminate any accumulated debris or standing water on the cover in order to facilitate an effortless removal process.
Clean Off Debris and Water
Initiate the cleansing process by preparing your pool for maintenance. Utilize a pool cover pump to eliminate any accumulated water on top of the cover—envision it as prepping your pool cover for its unveiling by draining it thoroughly. Proceed to employ a pool skimmer, removing leaves and debris that have settled on the surface of the cover. This preliminary cleaning not only eases subsequent tasks, but also prevents debris from contaminating your pool water, ultimately reducing strain on your filtration system in the future.
With all standing water removed and litter disposed of, you’re poised to tackle what follows. It’s an easy task. Overlooking this step could result in cloudy pool water—an unwelcome complication indeed. Devote time now to prevent potential issues later, ensuring that when completed, your swimming oasis gleams with clarity.
Remove and Store the Pool Cover
Once the pool is clear of water and debris, it’s essential to proceed with caution as you remove the pool cover. Follow these steps:
- Ensure all springs and straps are disconnected.
- Recruit assistance to cautiously draw off the cover without allowing it to drop into the pool.
- Thoroughly cleanse it using a gentle detergent.
- Eliminate any residual dirt by brushing.
- Allow complete drying before storage.
A clean and dry pool cover ensures its longevity. To preserve its condition for future winters, loosely fold the cover and place it in a sealed container that shields against weather conditions and potential pests looking for a snack. Such care will not only prolong your pool covers lifespan, but also facilitate an easier opening of your pool when next winter concludes.
Inspecting and Reconnecting Pool Equipment
Once you have securely put away the cover, focus on inspecting the pool equipment. It’s essential to thoroughly examine each piece of equipment, including your pool pump and filter, as well as any additional accessories for potential wear or damage. Additionally, using pool chemicals to prepare and balance the pool water is crucial to ensure a safe and clean swimming environment.
If there are cracks that could have been caused by freezing temperatures or if seals appear worn out, it’s important to take care of these issues immediately to prevent complications down the line.
Inspect Pool Components
Act as a detective for your pool. Scrutinize every element of the pool arrangement – from the pump to the filter, down to each accessory. Search for any indications of deterioration or damage and be prepared to replace parts that seem like they are nearing their end. Large fractures in a fiberglass pool demand immediate attention from expert services.
Minor components shouldn’t be overlooked either. Pool cleaners require new filters or bags regularly to manage the debris they collect. These small details can have a significant impact on maintaining your pool’s cleanliness and ensuring its efficient operation throughout the entire season.
Reconnect Pool Equipment
Once everything is in tip-top condition, it’s time for assembly. Follow these steps:
- Ensure all the valves and drain plugs are securely fastened back into place.
- Apply thread sealant liberally to prevent any future leaks which could become a nuisance.
- Prepare your pump for operation by priming it adequately.
- If there’s difficulty with water intake by the pump, aid the process either using a garden hose or manually with a bucket.
Subsequently, set in motion both circulation and filtration systems while being vigilant for leaks or strange sounds that may indicate problems arising. Replace old filter media when necessary. If you own a DE filter system, don’t forget to replenish DE through the skimmer once pool circulation commences again after winterizing. With all components correctly attached and operational, anticipation builds towards enjoying an invigorating dip in your pool once again.
Refilling and Balancing Pool Water
The condition of your pool is pleasing, but attention must now turn to the water within. Using your reliable garden hose, top it off until it reaches the appropriate height—usually halfway up the skimmer opening.
After you’ve added sufficient water, proceed with adjusting the chemical balance to ensure that your pool remains healthy and equilibrium is maintained.
Refill Pool to Proper Level
Maintaining the appropriate level of your pool water is critical. It ensures not only that the filtration system functions efficiently, but also prevents you from having to correct your water chemistry multiple times. By using a garden hose, fill up the pool until the water reaches midway up the skimmer for optimal results.
Take into account that introducing new water can disrupt your meticulously adjusted chemical balance within the pool. After filling it, make sure to conduct a test and tweak as necessary. The process resembles baking in terms of its precision. Achieving exact proportions is essential for flawless results.
Test and Balance Water Chemistry
Dive into the nuances of pool chemistry with your test kit at hand, as you endeavor to strike the perfect balance in pH, total alkalinity, and calcium hardness for optimal swimming conditions. Think of it as precise adjustment of your pool’s well-being when you bring these levels within their ideal ranges using suitable chemicals.
Target a pH window from 7.4 to 7.6 while ensuring that total alkalinity sits comfortably between 80 ppm and 120 ppm. Should calcium hardness need correcting, aim for it to be nestled within the range of 200 ppm to 400 ppm. While this may resemble lab work, achieving equilibrium among these parameters is key not only for safety but also for enhancing swimmer comfort in your pool.
Cleaning and Preparing the Pool for Use
Ensure that the pool’s water chemistry is in equilibrium, then prepare to diligently clean the swimming area. This includes a comprehensive session of brushing and vacuuming, which should be succeeded by administering a shock treatment to eliminate any residual impurities.
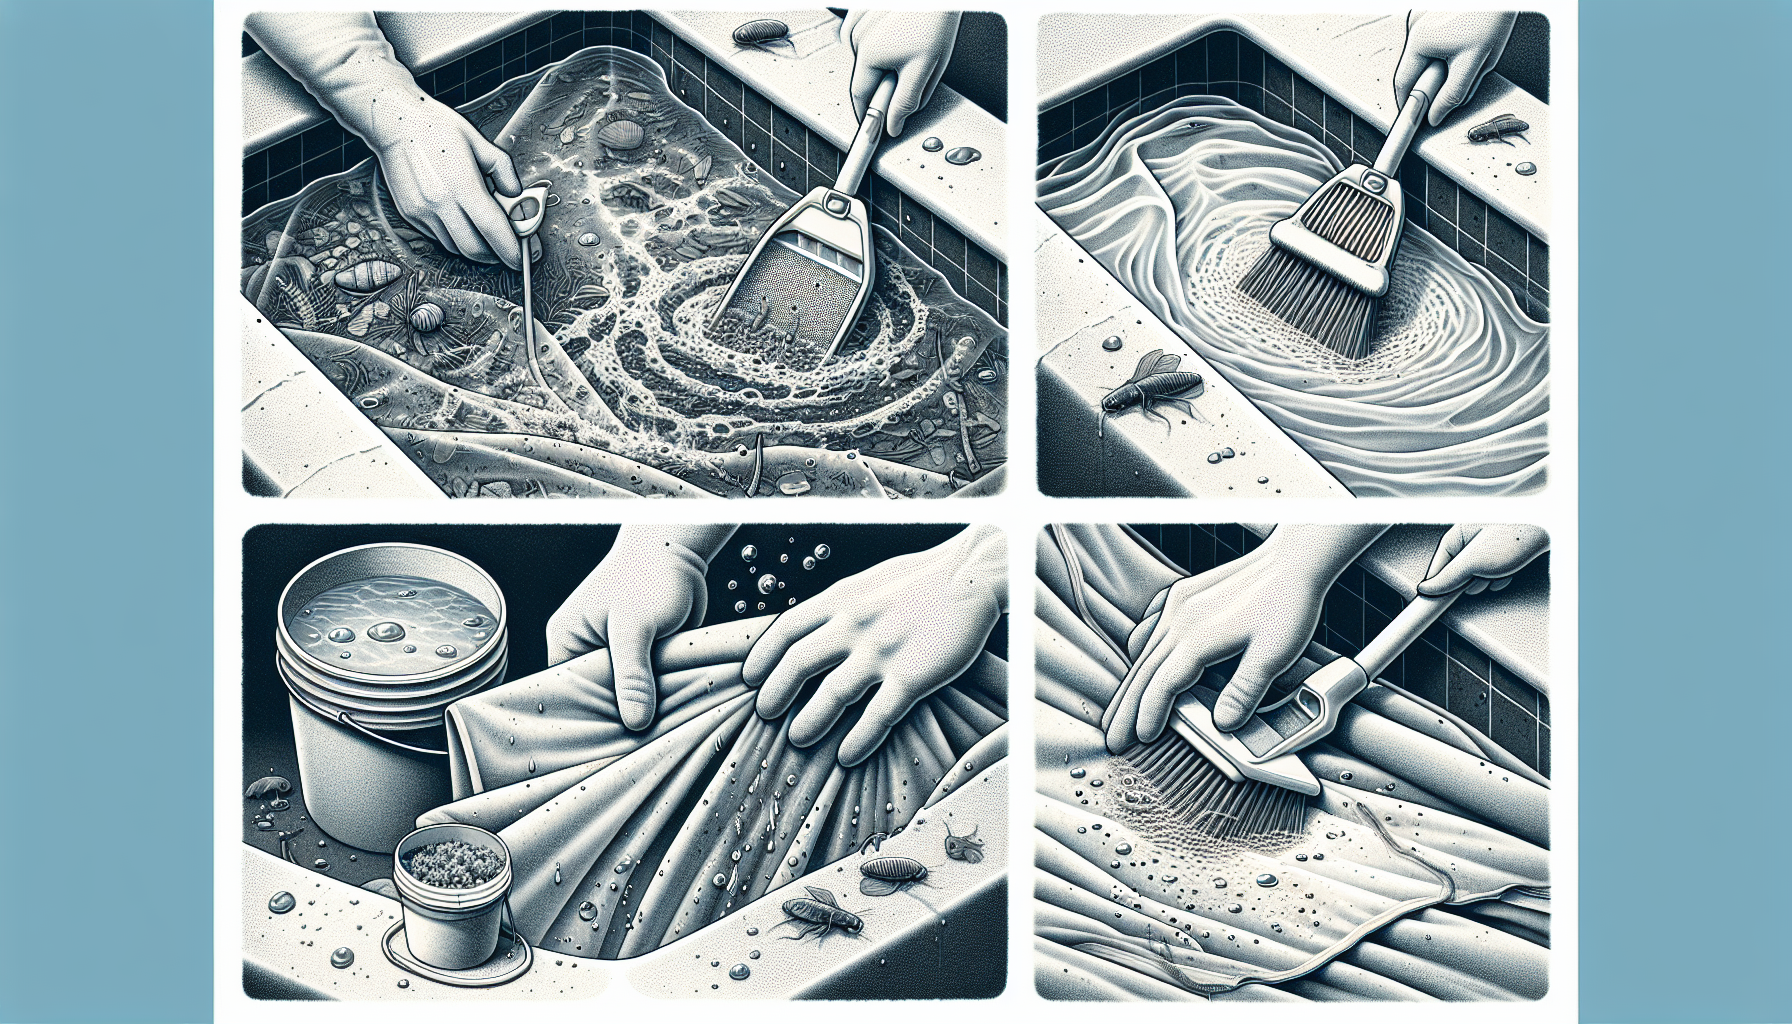
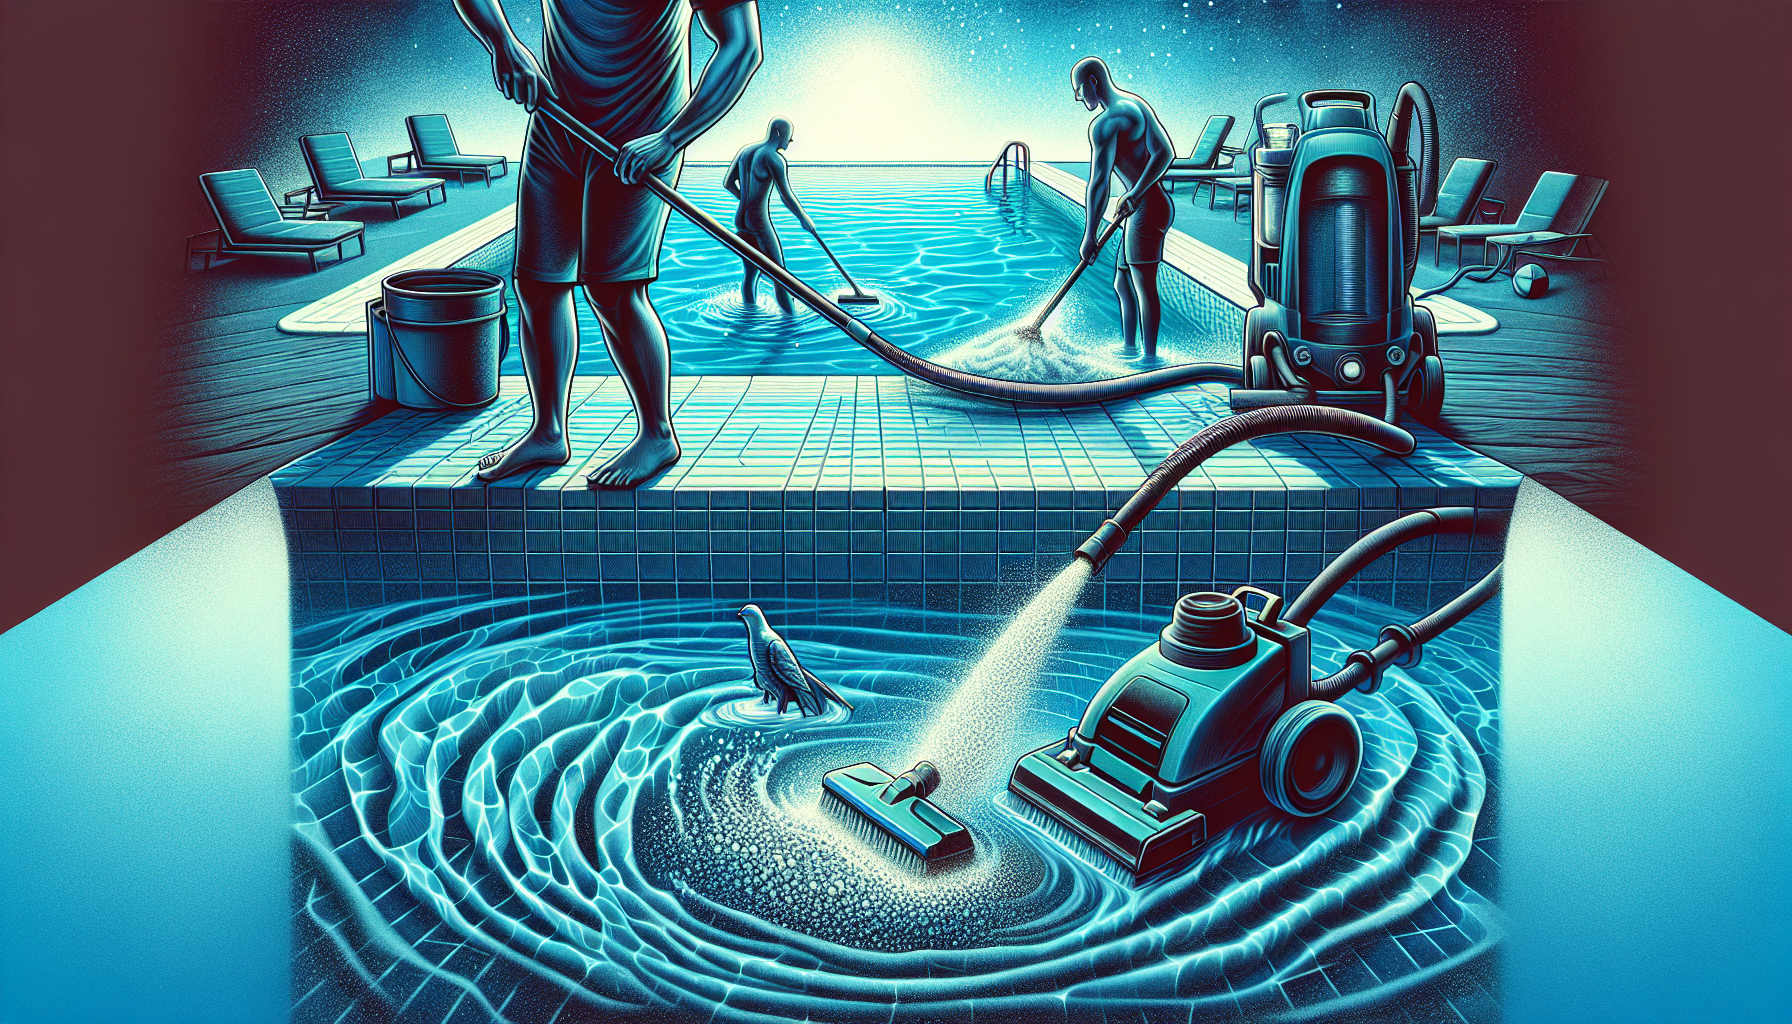
Brush and Vacuum the Pool
Begin by taking your pool brush to the walls and bottom of the pool, scrubbing diligently. This not only helps remove grime and loose particles, but also prepares the environment for an effective shock treatment. After you’ve completed a comprehensive brushing session, proceed with vacuuming. Doing so will eliminate any sediment that has been agitated from its resting place, ensuring a pristine pool floor.
If throughout winter you’ve managed your pool cover effectively, this process should be quite straightforward. If there’s more debris than anticipated, remain determined in your efforts. Continue removing debris with determination—scoop it out, go over surfaces again with the brush and follow up with another round of vacuum. Do whatever is necessary until you have achieved that pristine crystal-clear water that beckons invitingly during colder months.
Shock Treatment
Administering a shock treatment to your pool water, commonly referred to as pool water shocking, acts like pressing the reset switch on your swimming environment. This intense chlorine infusion is designed to eradicate bacteria, algae, and any other undesirable organisms. Adhere strictly to the directions provided with your chosen shock product and observe the waiting period specified before taking a plunge.
Once you’ve applied the shock solution, keep the pump running for at least six hours or more so that it can be thoroughly dispersed throughout and effectively purify your pool’s ecosystem. Subsequent testing of the water should confirm normal conditions have been restored. After confirming that chlorine levels have settled down post-treatment, you can confidently welcome swimmers back into the refreshed waters of your pool.
Adding Start-Up Chemicals
After reaching the point of completing your pool preparation with clean water and balanced conditions, there’s just one more essential action required: incorporating appropriate start-up chemicals into the pool. These substances are indispensable in maintaining the long-term cleanliness and clarity of your pool.
Incorporate disinfectants, pH balancers, and algaecides as part of this initial routine to condition your pool. To avoid any undesirable reactions that might haze up your water, it is imperative to introduce them sequentially at optimal times. Practice restraint during this process. Ensure that you only proceed with adding these chemicals once the chlorine concentration falls below 4 parts per million (ppm) within your aquatic oasis.
Final Preparations and Safety Checks
Before opening your pool to the inaugural swimmers this season, there are still a handful of tasks that require attention. Final touches and security inspections must be carried out meticulously, following a step by step process to guarantee that all conditions are met for a secure and pleasurable experience at the pool.
Reinstall Pool Accessories
Ensure that all of your pool accessories, including railings, ladders, and diving boards, are reinstalled properly and primed for use. Inspect them for any signs of damage or wear. When setting up a diving board again, remember to apply lubricant to its bolts and hinges to guarantee effortless dives each time.
For those with an inground pool equipped with lighting fixtures, verify that they are firmly installed and functioning as intended. It’s important that your pool remains safe not just in daylight, but also offers a luminously inviting atmosphere for nighttime swimming escapades.
Final Safety Checks
Ensure you conclude with a thorough safety inspection. Begin by releasing the filter gauge pressure relief valve and record your initial PSI—this is vital for monitoring the condition of your filter over time. Pay close attention to the grounding wire. Though it may seem insignificant, its function is critical in maintaining swimming safety.
After diligently reviewing all aspects twice over, take comfort in knowing that your pool is prepped not just for an enjoyable summer, but also as a secure environment for all who partake in its pleasures.
Summary
As the sun sets on our guide to opening your pool, you’re now equipped with all the knowledge and skills you need to kick off pool season with a splash. You’ve mastered the art of timing, tackled the tools and equipment, conquered the cleaning, and balanced the chemistry. With each step, you’ve ensured your pool is ready to be the centerpiece of endless summer memories.
So go ahead, take that first dip, and enjoy the fruits of your labor. You’ve earned it! Remember, a well-opened pool is the foundation of a stress-free summer, so dive in with confidence and make a splash this swim season.
Frequently Asked Questions
When is the best time to open my pool?
When temperatures reliably remain over 70°F, it is the optimal period to open your pool. This temperature threshold aids in reducing algae proliferation and preserving water chemistry, which simplifies the process of cleaning and balancing your pool for the swimming season.
What equipment do I need to open my pool?
Ensure you have all the necessary items at your disposal before commencing, including standard hand tools, pool upkeep accessories, a wet-dry vacuum, a fresh set of reagents or test strips for water analysis, and a pool cover pump.
It’s important to be prepared with every item mentioned before initiating the task.
How do I properly remove and store my pool cover?
To properly remove and store your pool cover, start by using a pool cover pump to clear standing water and a skimmer to remove debris. After detaching springs and straps, clean the cover with mild detergent, let it dry completely, then loosely fold and store it in a sealed container in a cool, dry place.
How often should I test my pool water chemistry?
It is essential to maintain a balanced chemistry in your pool water for a secure swimming ambiance. Hence, you ought to examine the pool’s water two or three times weekly.
By conducting consistent tests, you’ll be able to make any required modifications that contribute to sustaining the health of your pool.
What safety checks should I perform before using the pool?
Prior to enjoying the pool, it is essential to verify that all accessories associated with the pool are firmly fixed and in a satisfactory state, examine the pressure relief on the filter gauge, and confirm that the grounding wire has been correctly attached.
Taking these measures will contribute to guaranteeing a secure environment for swimming activities.